Thoracentesis: Procedure, Purpose, and Recovery
Complete guide to thoracentesis: Understanding the minimally invasive procedure for pleural effusion treatment and diagnosis.

Understanding Thoracentesis
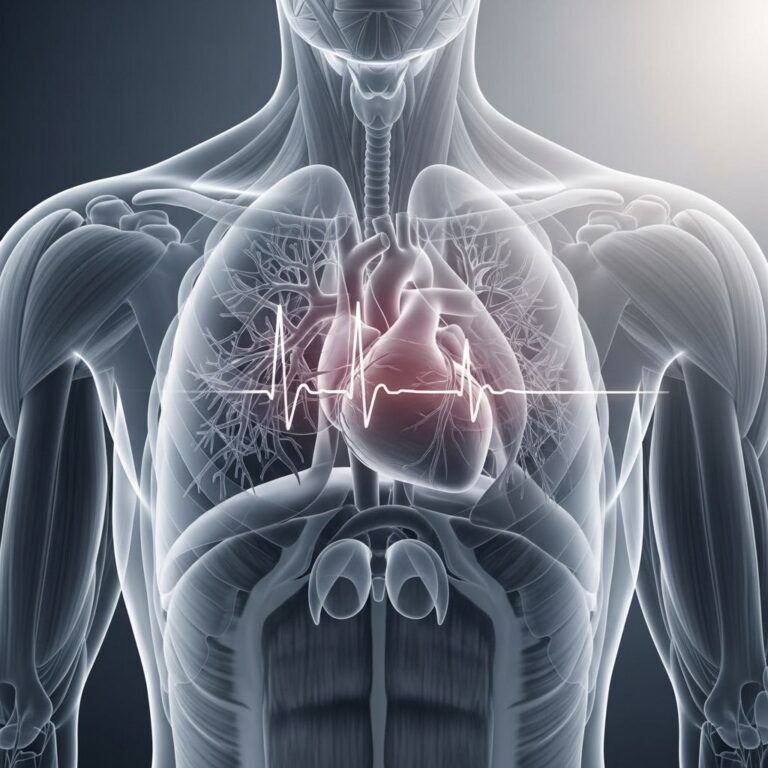
Thoracentesis is a minimally invasive medical procedure designed to remove excess fluid or air from the pleural space, which is the area between the lining of the lungs (pleura) and the wall of the chest. This procedure serves both diagnostic and therapeutic purposes, helping physicians identify the underlying cause of fluid accumulation while simultaneously providing symptomatic relief to patients experiencing respiratory distress. The procedure is commonly performed in hospital settings, outpatient facilities, and at the bedside, making it an accessible treatment option for patients with various pulmonary conditions.
What Is Pleural Effusion?
Pleural effusion refers to an abnormal accumulation of fluid in the pleural space, the potential area between the visceral pleura (which covers the lungs) and the parietal pleura (which lines the chest wall). Under normal circumstances, a small amount of fluid exists in this space to allow smooth movement of the lungs during breathing. However, when excessive fluid accumulates due to various pathological processes, it can compress the lungs and impair respiratory function, leading to symptoms such as shortness of breath, chest pain, and reduced oxygen levels.
Multiple conditions can cause pleural effusion, including malignant pleural effusions related to cancer, infections such as pneumonia and tuberculosis, congestive heart failure, liver cirrhosis, kidney disease, and pulmonary embolism. In some cases, parapneumonic effusions can develop following bacterial pneumonia, potentially progressing to empyema if left untreated.
Indications for Thoracentesis
Thoracentesis is indicated for both diagnostic and therapeutic purposes. The specific clinical scenarios where this procedure is recommended include:
Diagnostic Indications
When pleural effusion is detected on imaging studies, thoracentesis allows physicians to obtain fluid samples for laboratory analysis. These samples provide crucial information about the nature of the fluid, including its chemical composition, microbiological characteristics, and cellular properties. Such analysis helps determine whether the effusion is transudative (resulting from systemic conditions) or exudative (caused by local pleural disease), and can identify specific infectious agents or malignant cells.
Therapeutic Indications
Thoracentesis is performed therapeutically to relieve symptoms caused by large or symptomatic pleural effusions. By removing excess fluid, the procedure reduces respiratory distress, improves lung function, and alleviates chest discomfort. Therapeutic thoracentesis also helps manage conditions such as parapneumonic effusion and empyema by reducing the risk of progression to more severe stages and decreasing the likelihood of superinfection.
Preparation for Thoracentesis
Proper preparation is essential for ensuring a safe and successful thoracentesis procedure. Patients should understand what to expect and follow specific preparatory guidelines provided by their healthcare team.
Pre-Procedure Assessment
Before undergoing thoracentesis, your healthcare provider will conduct a comprehensive evaluation that includes:
– Blood pressure measurement to assess baseline cardiovascular status- Pulse oximetry to determine oxygen saturation levels using a small device placed on the finger– Blood tests to evaluate coagulation parameters and platelet count- Review of current medications, particularly anticoagulants or antiplatelet agents- Imaging studies including chest X-ray, ultrasound, or CT scan to visualize the fluid location and volume
Imaging and Localization
Bedside ultrasonography is essential for identifying the most appropriate location for needle insertion, particularly in patients with lower fluid volumes. Ultrasound imaging helps physicians pinpoint exact fluid pockets, measure the depth from the skin surface, and ensure optimal needle placement while minimizing the risk of complications such as pneumothorax or organ perforation.
Patient Instructions
Patients typically receive the following pre-procedure instructions:
– Wear comfortable clothing or a hospital gown that opens at the back for easy access to the procedure site- Remove all jewelry from the chest and neck area- Arrange for a responsible adult to drive you home if sedation is administered- Avoid eating or drinking for a specific period before the procedure, depending on whether sedation will be used- Inform your healthcare team of any allergies, particularly to local anesthetics or iodine-based antiseptics
The Thoracentesis Procedure
Thoracentesis is a carefully controlled procedure that typically takes approximately 15 minutes from start to finish. Understanding each step can help reduce anxiety and improve patient cooperation during the procedure.
Positioning
The patient is positioned to optimize access to the pleural space and fluid accumulation. The ideal position is seated upright with the arms and head resting on a table in front of the patient, allowing the chest wall to expand and the ribs to separate. If the patient is unable to sit comfortably, alternative positioning may include lying on the side opposite to the effusion or a semi-recumbent position. The affected side (where fluid is present) must be accessible to the physician.
Sterilization and Local Anesthesia
Once the patient is properly positioned, the skin over the procedure site is thoroughly cleaned with an antiseptic solution, typically povidone-iodine or chlorhexidine, to eliminate surface bacteria and reduce infection risk. The area is then covered with a surgical drape to maintain a sterile field throughout the procedure.
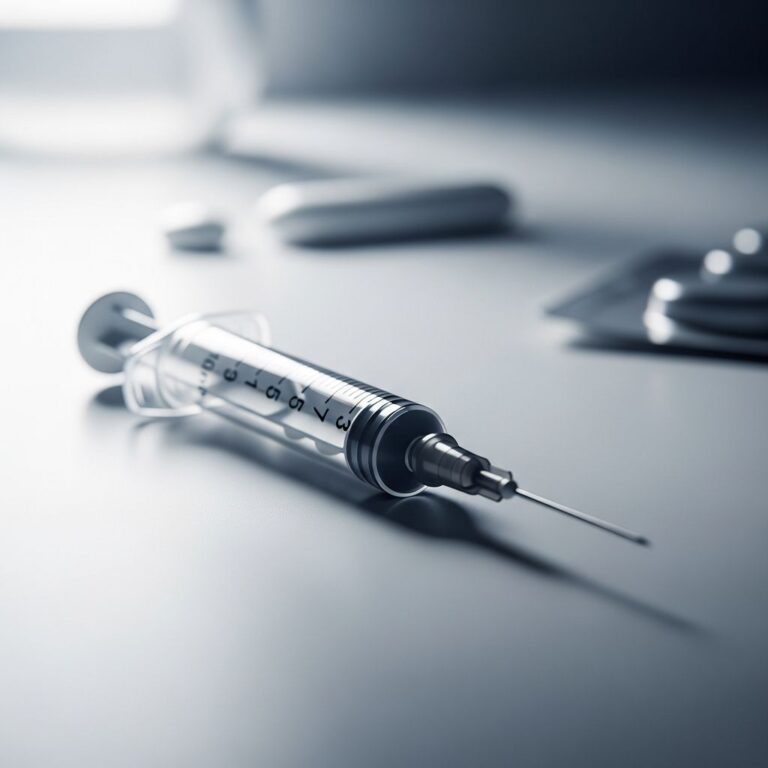
Local anesthetic is administered in two stages. First, a 25-gauge needle is used to create a superficial wheal in the skin, providing initial numbing sensation. This may cause a brief burning or stinging sensation that quickly subsides as the area becomes numb. Subsequently, a 20- or 22-gauge needle is used to infiltrate deeper tissues around the rib margin, carefully advancing the needle tip above the rib to avoid vascular structures running along the inferior rib surface.
Needle Insertion and Fluid Aspiration
The physician inserts a larger needle or catheter perpendicular to the skin between two ribs, typically at the sixth to eighth intercostal spaces in the midaxillary line (if supine) or posterior midscapular line (if seated). Negative pressure is applied to the syringe during insertion to detect fluid flow and avoid damage to adjacent structures such as the lung, liver, or spleen. When pleural fluid is detected, the catheter is advanced into the thoracic cavity, and the needle is withdrawn, leaving the catheter in place.
The amount of fluid removed depends on the procedure’s purpose. Diagnostic thoracenteses typically collect small samples (approximately 20-50 milliliters) for laboratory analysis, while therapeutic procedures may remove larger volumes. Therapeutic thoracentesis can drain one to one and a half liters of fluid or more, using slow gravity drainage or serial syringe draws with a collection bag and a three-way stopcock.
Respiratory Considerations
During the procedure, patients may be asked to hold their breath or breathe out to prevent accidental lung puncture and minimize patient movement. Patients are instructed to avoid coughing, deep breathing, or sudden movements during needle insertion and fluid removal, as these actions could alter the pleural space position and increase complication risk.
Procedure Completion
After the desired amount of fluid is removed, the catheter is withdrawn, and the physician applies direct pressure to the insertion site to control any bleeding and promote hemostasis. A sterile bandage or dressing is applied to the puncture wound; sutures are typically not necessary.
Post-Procedure Care and Monitoring
Following thoracentesis, specific monitoring and care protocols help detect early complications and ensure optimal recovery.
Imaging Assessment
A chest X-ray or ultrasound is usually performed immediately after thoracentesis to assess the procedure’s success and detect any potential complications such as pneumothorax, hemothorax, or pulmonary edema. This imaging helps confirm appropriate fluid removal and verifies lung re-expansion.
Fluid Analysis
The collected pleural fluid is sent to the laboratory for comprehensive analysis including biochemical studies (protein, lactate dehydrogenase, glucose levels), microbiological culture and sensitivity testing, and cytological examination to identify malignant cells or infectious organisms.
Patient Recovery
Most patients experience rapid symptom relief following successful fluid removal. Patients can typically resume normal activities as soon as they feel ready, usually within the same day, though strenuous activities should be avoided for 24-48 hours. Rest, hydration, and pain management with over-the-counter analgesics are typically sufficient for post-procedure comfort.
Risks and Complications
While thoracentesis is generally considered a safe procedure with low complication rates when performed by experienced practitioners, potential complications do exist and patients should be aware of them.
Common Complications
– Pneumothorax: Air entry into the pleural space, potentially requiring chest tube placement- Pleural bleeding or hemothorax: Bleeding into the pleural space from vessel puncture- Pain at the insertion site: Generally mild and manageable with analgesics- Cough: Mild irritation during or immediately after the procedure- Subcutaneous emphysema: Air tracking into subcutaneous tissues
Serious Complications
– Organ perforation: Potential puncture of the lung, liver, or spleen- Infection or empyema: Development of infection in the pleural space- Re-expansion pulmonary edema: Rapid fluid accumulation in previously compressed lung tissue- Hypotension or shock: Rarely, from rapid intravascular volume loss
Risk factors for complications include inadequate patient positioning, lack of ultrasound guidance, coagulopathy or anticoagulation therapy, and multiple needle passes. Using real-time ultrasound guidance significantly reduces complication rates and increases procedure success.
Frequently Asked Questions
Q: How long does thoracentesis take?
A: The entire procedure typically takes approximately 15 minutes from initial preparation through needle withdrawal and bandaging.
Q: Will I feel pain during thoracentesis?
A: Local anesthesia numbs the area before the procedure, so you should not feel sharp pain. You may experience mild pressure or discomfort as the needle advances into the pleural space, but this is generally well-tolerated.
Q: Can I go home immediately after thoracentesis?
A: Yes, most patients can return to their normal activities as soon as they feel up to it, often the same day, though strenuous activities should be avoided for 24-48 hours.
Q: What should I watch for after the procedure?
A: Contact your healthcare provider if you experience severe chest pain, persistent cough, shortness of breath, fever, or any signs of infection at the puncture site.
Q: Is ultrasound guidance always used?
A: Ultrasound guidance is strongly recommended, particularly for small or loculated effusions, as it significantly reduces complication rates and improves procedural success.
Q: How much fluid can be removed during thoracentesis?
A: For diagnostic purposes, small samples (20-50 milliliters) are typically collected. Therapeutic procedures may remove one to one and a half liters or more, depending on symptoms and clinical goals.
References
- Thoracentesis — National Institutes of Health, National Center for Biotechnology Information. 2024. https://www.ncbi.nlm.nih.gov/books/NBK441866/
- Thoracentesis for treating pleural effusions — Radiology Info, American College of Radiology. 2024. https://www.radiologyinfo.org/en/info/thoracentesis
- How To Do Thoracentesis — Merck Manuals Professional Edition. 2024. https://www.merckmanuals.com/professional/pulmonary-disorders/how-to-do-pulmonary-procedures/how-to-do-thoracentesis
- Thoracentesis: Purpose, Procedure, Risks & Recovery — Cleveland Clinic. 2024. https://my.clevelandclinic.org/health/treatments/24254-thoracentesis
- Thoracentesis — MedlinePlus Medical Encyclopedia, U.S. National Library of Medicine. 2024. https://medlineplus.gov/ency/article/003420.htm
Similar Articles


Read full bio of Sneha Tete